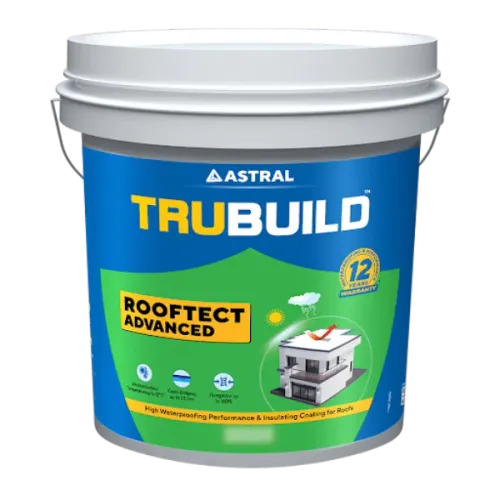
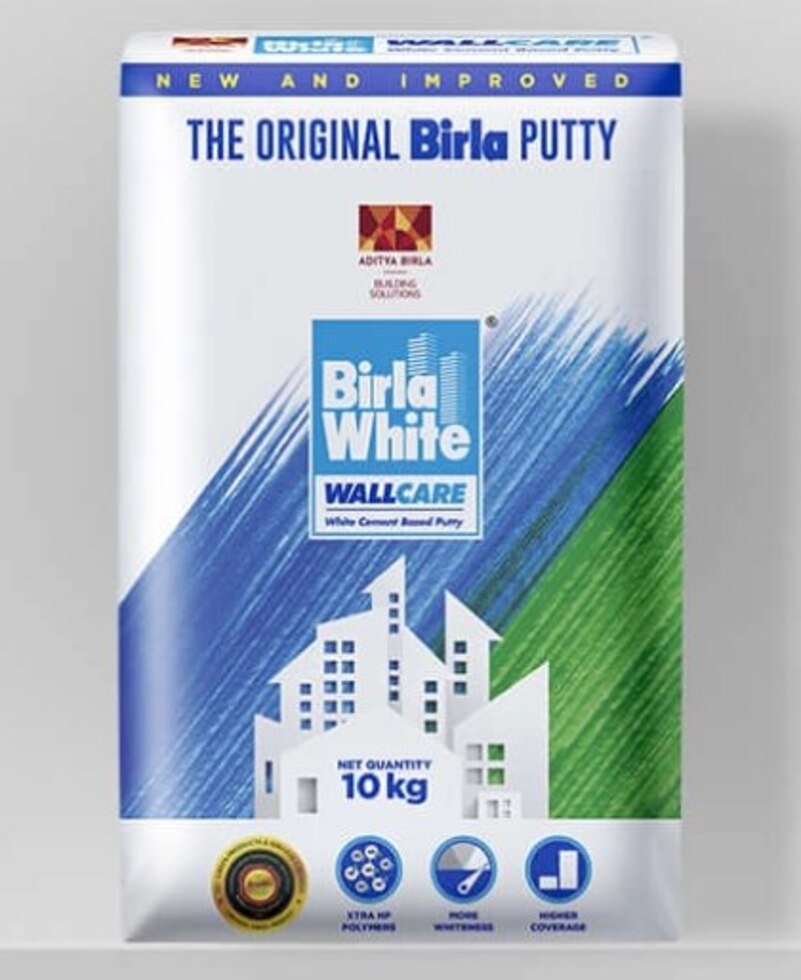
A wall finish can fail before the paint is applied if the putty is old, moisture-affected, counterfeit or used over a weak surface. You will learn how to inspect the material, estimate a practical quantity, prepare and coat the wall correctly, and assess whether a dealer can support a compatible finishing system.
Key takeaways
- Reject torn, resealed, swollen or moisture-damaged putty bags.
- Check batch details, manufacturing date and the dealer’s storage conditions.
- Repair dampness, cracks and leaks before applying wall putty.
- Compare the complete system: preparation, putty, primer, paint and waterproofing.
What a dealer must verify before the bag reaches your wall
A Birla WallCare Putty dealer affects your finish before any trowel touches the wall. The dealer should protect product authenticity by sourcing through a reliable supply chain, keeping bags dry and off damp floors, and rejecting packaging that is torn, resealed, faded or swollen. Moisture exposure can create hardened lumps and inconsistent mixing.
Before accepting delivery, check:
- The factory seal is intact, with no stitching damage or powder leakage.
- The product name, manufacturer details and net quantity are printed clearly.
- The batch number and manufacturing date are readable.
- The tax invoice matches the bags, so an adhesion or shade problem can be traced to the correct batch.
- The bag contains no hardened lumps or signs of damp storage.
A low price is weaker evidence than current stock, batch traceability and a clear return process for damaged bags. Ask the Birla WallCare Putty dealer for technical instructions, then confirm the recommended primer, interior or exterior paint, and waterproofing layer. Products from different brands are not automatically compatible.
Apply the material to one small trial panel before covering every wall. The panel can expose poor adhesion, pinholes, sanding marks, uneven absorption or excessive paint use. If it fails, stop before the entire batch becomes rework.
How to inspect stock and calculate enough putty for the job
A low price does not compensate for a bag weakened by dampness or tampering. Inspect each bag before loading it, and reject any package with a torn seam, broken seal, unreadable print, hardened lumps or powder leaking from the stitching.
- Confirm sealed packaging with the manufacturer’s name and product details clearly printed.
- Check the manufacturing date, readable batch number and net quantity.
- Match the printed details across bags, especially when buying multiple batches.
- Look at the storage area: choose stock kept on pallets or raised platforms in moisture-free storage, away from rain, damp floors and open humidity.
- Request a tax invoice showing the product and quantity, so the material can be traced if bonding or finish problems appear.
Measure each wall’s length and height, then subtract doors, windows and other openings. Use the product literature’s putty coverage estimate as the starting point, but confirm whether it applies to one coat or the specified two-coat system. Required quantity equals paintable area divided by the stated square-metre-per-kilogram coverage, adjusted for the number of coats.
Treat that figure as an estimate, not a guarantee. Rough plaster, waviness, thicker application, sanding loss and worker technique increase consumption. A small trial panel gives you a real kilograms-per-square-metre figure; multiply it across the measured area and round up to complete bags.
Buy enough from one traceable batch to avoid a visible variation or an interruption midway through finishing.
When the wall needs repair or waterproofing before putty
Birla WallCare Putty suits a sound, cured mineral surface such as interior plaster, exterior plaster, concrete, or a level cement plaster repair. It is a thin finishing layer, not a material for rebuilding deep hollows. Thick local patches can shrink, crack, or remain soft beneath paint.
Check the wall condition before opening the putty bag:
- Firm, clean plaster with minor pores or surface unevenness: putty is suitable after removing dust, oil, chalking paint and loose particles.
- Small, stable surface cracks: open the crack, remove dust and fill it with a compatible crack filler before applying putty.
- Deep undulations, broken plaster or wide damaged areas: use cement plaster repair material first; do not fill the entire depth with finishing putty.
- Active seepage, rising damp or a plumbing leak: stop the water source and complete the waterproofing or plumbing repair first.
- Cracks that reopen, run diagonally from corners, or indicate structural movement: investigate and repair the underlying movement; putty will not bridge it.
| Wall condition | Is putty the right material? | What to do first |
|---|---|---|
| Sound cured plaster | Yes | Clean the surface and correct minor defects |
| Loose, powdery or damp plaster | No | Remove failed material and repair the substrate |
| Deep hollows | No | Rebuild with suitable plaster or repair mortar |
| Seepage or rising damp | No | Resolve the water entry and allow the wall to dry |
| Stable hairline cracks | After preparation | Use crack filler, then apply putty |
Test a small panel to confirm adhesion, absorption and compatibility with the selected primer, paint and waterproofing layer. Follow each manufacturer’s instructions when combining products from different brands.
The application sequence that protects the final finish
Putty cannot rescue wet plaster, active seepage or deep unevenness. Complete plaster curing first, repair leaks and structural cracks, and level deep undulations with suitable repair material; thick putty patches shrink, crack or remain soft.
1. Check that the cured plaster is firm and free from loose grains. Complete surface cleaning by removing dust, grease, laitance, paint flakes and efflorescence with a brush or scraper.
2. Dampen the wall only if the product instructions require it. Do not leave standing water. A dry or excessively wet surface can weaken adhesion.
3. Follow the bag or technical data sheet for the water mixing ratio. Add putty powder gradually to clean water, mix to a uniform paste, and use it within the stated usable time. Never re-temper setting material, add excess water or combine different products in one container.
4. Apply the first coat evenly, keeping it thin and using a straightedge to correct minor surface variation. Let it dry for the stated interval; do not cover soft or visibly damp areas.
5. Apply the second coat only after the first coat has dried. Keep its thickness even rather than filling hollows with a heavy patch, then allow the specified drying period.
6. Sand the fully dry surface with suitable abrasive paper, remove sanding dust, and inspect under strong side light. Apply a compatible primer after the surface is clean and dry, following the primer’s coverage and drying instructions before painting.
How to compare dealers, putties and the complete paint system
A 1 m² trial panel can expose problems before they spread across the house. Compare working consistency, adhesion, whiteness, sanding effort, pinholes, absorption and paint consumption after the panel dries. Test the actual primer and topcoat, not a different combination.
| Option | What to compare | Choose it when |
|---|---|---|
| Birla WallCare Putty | Trial-panel adhesion, working consistency and compatibility with your primer and paint | The result is even, sands cleanly and suits the specified paint system |
| Another white cement putty | Same panel tests, plus drying behaviour and local availability | It performs as well or better without forcing a different primer or topcoat |
| Competing dealer | Sealed stock, batch traceability, moisture-free storage and system advice | The dealer can identify the batch and support a compatible complete system |
Ask the dealer these questions before deciding:
- Is the bag sealed, dry and free from hardened lumps, with a readable manufacturing date, batch number and manufacturer details?
- Which primer and interior or exterior paint are recommended over this putty?
- What mixing ratio, usable time and coat thickness does the manufacturer specify?
- If you combine brands, has compatibility been checked against each manufacturer’s instructions?
Shree Paint Studio can help compare Birla WallCare Putty with alternatives such as JK WallMaxX by checking the whole combination rather than recommending a putty in isolation. Reject any option that promises to solve seepage, rising damp or moving cracks; cement-based putty prepares a sound surface but is not a waterproofing repair.
Related products
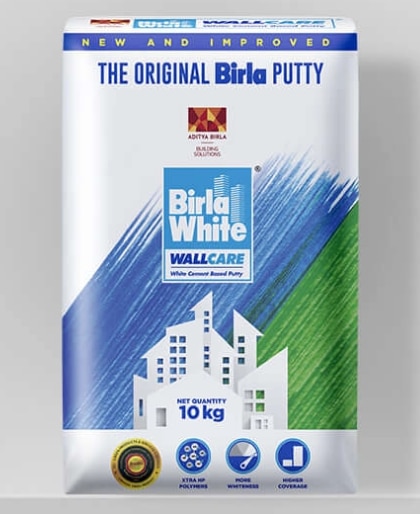 | Birla wall care putty The Birla White WallCare Putty is a water-resistant, white cement-based putty that provides a smooth and strong base for your walls. View product → |
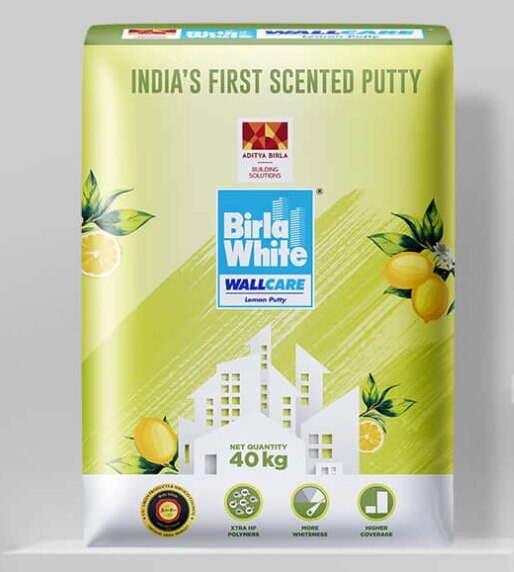 | Birla wall care putty Birla White WallCare Scented Putty is the first of its kind in India, designed to make the wall preparation process much more pleasant. View product → |
Frequently asked questions
What should a dealer verify before supplying Birla WallCare Putty?
The dealer should verify product authenticity, intact packaging, batch details and manufacturing date, then store bags in a dry place off the floor.
How do you inspect putty stock and estimate the quantity needed?
Inspect bags for tears, resealing, swelling, faded printing and hardened lumps. Estimate quantity from the manufacturer’s coverage rate, the wall area and the number of coats.
Should you repair or waterproof a wall before applying putty?
Yes. Fix active leaks, dampness, loose plaster, cracks and seepage first. Putty is a finishing layer, not a cure for structural movement or water entry.
What is the correct sequence for a durable wall finish?
Prepare and clean the surface, complete repairs, apply putty in suitable coats, sand after drying, remove dust, then apply primer and the selected paint.
How should you compare putty dealers and complete paint systems?
Compare authentic stock, storage, batch traceability, technical guidance and quantity planning, then assess how the putty works with the primer, paint and waterproofing products.