A damp bathroom wall, stained kitchen ceiling or loose tile does not identify the correct waterproofing product by itself. By the end, you will be able to trace the leak, match the system to the surface and exposure, check application requirements and compare a complete purchase rather than a low price per pack.
Key takeaways
- Find the leak source before buying a coating or repair compound.
- Match the product to the substrate, wet-area exposure and movement.
- Prepare drains, corners, pipe penetrations and cracks before application.
- Follow the datasheet for mixing, curing time and flood testing.
Find the Leak Before Choosing a Waterproofing Product
Identify the source before buying a waterproofing product: a coating cannot stop a pressurised pipe, leaking drain or failed floor trap. A bathroom leak source is usually found by isolating fixtures and observing when moisture appears; kitchen leak diagnosis must include the sink, dishwasher, washing machine, supply lines and waste connections.
| Source | Clues | Correct first action |
|---|---|---|
| Waterproofing failure | Damp patch below the shower, wall-floor junction or adjoining room after bathing; no leak during dry periods | Repair cracks, failed joints and penetrations, then apply a wet-area system beneath the tiles |
| Plumbing leak | Moisture appears when a tap, mixer, geyser or appliance runs; water pressure drops | Pressure-test supply lines and repair the leaking connection or pipe |
| Drainage or floor-trap leak | Dampness follows discharge from a basin, sink or shower; odour or staining appears below | Perform floor trap leak testing and inspect the waste joint before waterproofing |
| Surface dampness | Cold-wall condensation, peeling paint or a small patch that does not change after water use | Improve ventilation, stop condensation or investigate rising damp; do not seal it blindly |
For concealed plumbing, open an inspection point or use a plumber’s pressure test before covering the area. Test each suspected source separately: run the shower, fill and drain the basin, and operate kitchen appliances while checking below and in adjoining rooms.
A cured waterproofing layer can then be checked with a controlled ponding test. It cannot prove that an untested concealed pipe is sound, so do not use flood testing as a substitute for plumbing repairs.
Match the Product to the Wet-Area Surface and Use
A tiled shower needs a waterproofing layer beneath the tiles, not just tile adhesive, cement grout or ordinary cement mortar. Extend the system up the shower walls, turn it into the floor perimeter, and seal around drains, pipes and wall-floor junctions according to the product instructions.
Kitchen waterproofing usually needs a targeted scope rather than bathroom-grade coating on every wall.
| Surface or use | Suitable system | What to verify |
|---|---|---|
| Shower floor and shower walls | Cementitious wet-area membrane beneath tiles | Confirm wall coverage, perimeter upturns, drain detailing and tile-covering requirements |
| Bathroom floor outside the shower | Interior bathroom waterproofing membrane beneath tiles | Confirm compatibility with the concrete or cement render and the expected water exposure |
| Kitchen floor, sink zone and appliance area | Localised interior membrane at wet zones and junctions | Include the sink, dishwasher or washing-machine area, pipe penetrations and splash-prone wall sections |
| Existing tiled surface | A product specifically approved for tile-over-tile application | Do not assume a below-tile membrane will bond to glazed tile |
| Pipe joint or active plumbing leak | Plumbing repair system, not a waterproofing coating | Repair and test the pipe, trap, mixer or drain before coating |
Choose between a one-component coating versus two-component system from the substrate, movement and exposure stated in the technical data sheet. Dulux Aquatech Waterblock 2K, for example, must be assessed by its stated interior wet-area use and mixing instructions; never dilute a two-component product with extra water, cement or sand.
A membrane will not fix a weak or oily substrate, and it cannot replace pressure testing or plumbing repairs. Select a coating intended for below-tile wet areas, not a roof coating, exposed-wall coating or cement admixture.
Check Substrate Preparation and High-Risk Details
A waterproofing layer cannot stop a leaking supply pipe, waste trap, shower mixer or concealed plumbing joint. Complete plumbing repairs and pressure testing first; coating over active leaks traps water and hides the failure.
1. Complete surface preparation by removing loose tiles, hollow screed, flaking paint, oil, soap residue, dust and laitance. Open weak areas, fill voids with a compatible repair mortar, and leave a sound, clean, suitably dry substrate.
2. Carry out cracked grout repair wherever joints have opened, but do not treat grout as waterproofing. Remove failed grout, inspect the joint beneath it, and repair movement or substrate cracks before filling the joint again.
3. Repair and reinforce the wall-floor junction, internal corners and construction joints with the system’s compatible sealant, reinforcing tape or waterproofing band. Rigid cementitious coatings can crack at these transitions if they are coated without flexible detailing.
4. Seal pipe penetrations around supply lines, waste pipes, floor traps and mixer outlets. Remove loose mortar, close gaps with a compatible repair material, then use the specified sealant, collar or reinforcement accessory around each pipe.
5. Check the floor fall and drain position before coating. Correct ponding and damaged screed first; waterproofing will not make standing water flow toward the waste outlet.
In a kitchen, prepare the sink, dishwasher and washing-machine zones, nearby splash areas, floor edges and penetrations instead of coating every wall without a leak path. Turn the waterproofing layer up at perimeters as the product instructions specify.
Verify Mixing, Curing and Testing Requirements
A product is ready for tiling only when its technical data sheet gives a complete application sequence, not just a drying claim. Check these details before purchase:
- Powder-to-liquid ratio and mixing method, including whether a low-speed drill is required.
- Coverage at the stated coat thickness, so a thin coat is not mistaken for a complete system.
- Pot life, which tells you how long the mixed material remains usable.
- Recoat interval between waterproofing layers.
- Curing time before tile adhesive, water exposure and the flood test before tiling.
- Compatibility with the specified tile adhesive and the substrate under the coating.
Measure each component accurately and mix the full instruction-listed ratio. Do not dilute the batch to extend pot life; excess water can weaken the film and cause debonding. Apply each coat evenly, then protect it from direct sun, strong air movement and early water exposure during curing.
Schedule the flood test before tiling only after the waterproofing has reached the manufacturer’s required curing time. Hold water in the finished wet area for the period stated in the system instructions, then inspect the ceiling below and adjoining rooms for damp patches or leakage.
A successful test checks the waterproofing layer, not concealed supply pipes, waste traps or mixer connections; those require separate plumbing pressure or drainage tests. Tile only after the surface passes inspection and the TDS permits covering.
Compare the Complete System When Buying from a Dealer
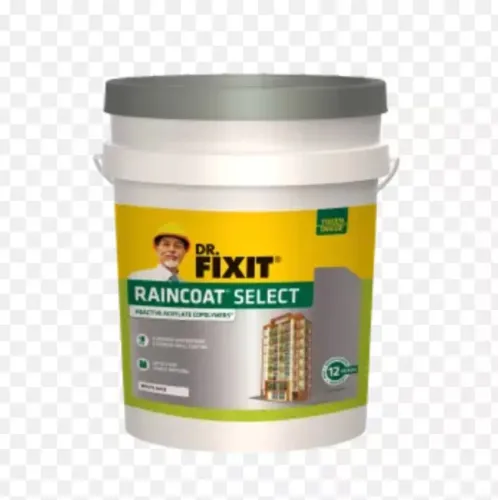
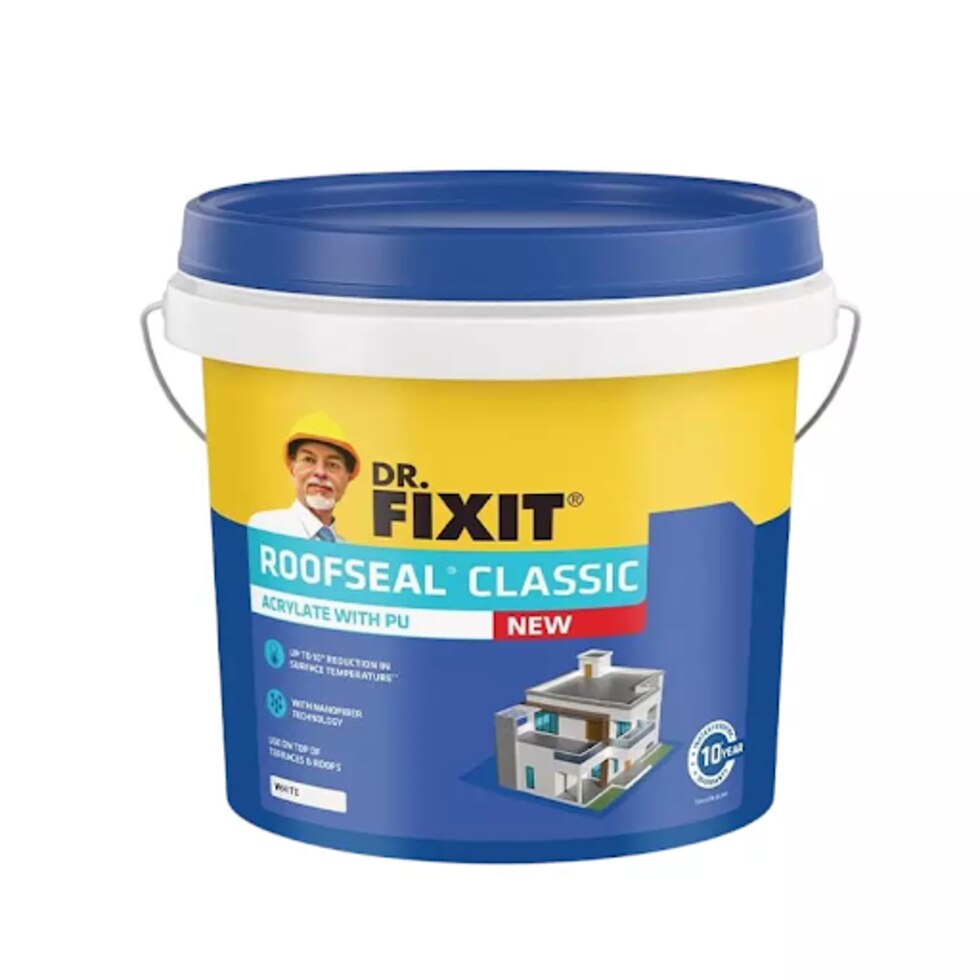
A quotation from a Dr. Fixit waterproofing compound dealer should price the complete wet-area system, not just the compound per kilogram. A low material price becomes costly when primer, reinforcement or pipe-seal components appear later as separate purchases.
| Item | Ask the dealer to specify | Why it matters |
|---|---|---|
| System preparation | Primer or bonding coat, substrate repairs and cleaning requirements | Missing preparation can cause debonding |
| Application | Powder-to-liquid ratio, number of coats, coverage at the stated thickness and reinforcement | Extra coats or material change the real cost |
| Details | Corner treatment, wall-floor turn-up, drain, pipe and penetration seals | Untreated junctions remain common leak paths |
| Finishing | Recoat time, tile-installation interval, flood-test cure and tile adhesive compatibility | Early covering or incompatible adhesive can trap defects |
| Supply | Pack size, batch number and pack shelf life | Old or short-dated stock may be unusable on site |
Ask for the current technical data sheet and written mixing instructions with the quotation. The technical data sheet controls curing and water-immersion intervals; replace a generic “24-hour” promise with the manufacturer’s stated times for the actual temperature and conditions.
Include the exact tile adhesive grade and grout proposed for the system. Do not accept “cement mortar is fine” without written compatibility confirmation. Shree Paint Studio can help compare the compound, accessories and compatible tile-fixing materials as one bill rather than treating them as unrelated products.
Frequently asked questions
How do you find a bathroom or kitchen leak before choosing waterproofing?
Isolate fixtures and observe when moisture appears. Check pressurised pipes, drains, floor traps, sinks, dishwashers, washing machines, supply lines and waste connections.
How should you match waterproofing to a bathroom or kitchen surface?
Identify the substrate, such as concrete, cement plaster, masonry or tiles, then choose a system rated for that surface and its level of water exposure.
Which areas need special preparation before waterproofing?
Clean and repair the substrate, then treat floor-wall corners, cracks, construction joints, pipe penetrations, drains and other movement-prone details.
What must you verify before applying a waterproofing product?
Check the product datasheet for mixing proportions, pot life, coat intervals, curing conditions and flood-test timing. Ask the dealer for the complete system requirements.